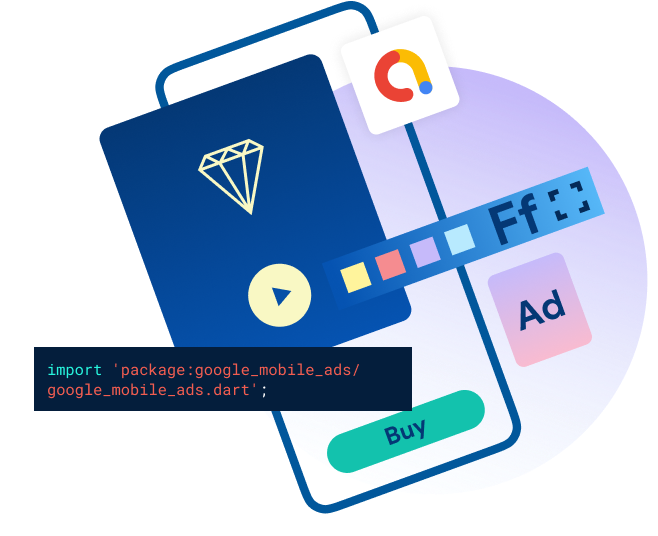
A Comprehensive Guide to Adding Google Ads in Flutter Apps
Introduction:
In the bustling world of mobile app development, one of the key challenges is finding sustainable revenue streams. Fortunately, integrating advertisements is a widely adopted strategy, and Google Ads, through its AdMob platform, stands out as a top choice. In this comprehensive guide, we'll take you through the detailed process of seamlessly adding Google Ads to your Flutter application, helping you unlock the full potential of your creation.
Prerequisites:
Before embarking on this journey, ensure you have the following prerequisites in place:
Flutter Installed: Begin by installing Flutter on your machine. If you haven't done this yet, head to the official Flutter website and follow the comprehensive installation guide: Flutter Installation.
AdMob Account: Create an account on the Google AdMob platform. This is where you'll configure ad units and obtain the necessary keys for integrating ads into your Flutter app. Navigate to AdMob to set up your account.
Step 1: Add Dependencies to pubspec.yaml
Open your pubspec.yaml file, the manifesto of your Flutter project, and add the necessary dependencies:
dependencies:
  flutter:
    sdk: flutter
  firebase_admob: ^0.11.0
Once added, execute flutter pub get in your terminal to fetch and install the dependencies.
Step 2: Set Up AdMob
Create Ad Units: Log in to your AdMob account, proceed to the "Apps" tab, and click "+ Add App" to register your Flutter app. Follow the prompts to add your app details. Subsequently, navigate to the "Ad units" tab, create a new ad unit, and note down the provided ad unit ID.
Configure Firebase (Optional): For those opting for Firebase AdMob, follow the detailed instructions on the official documentation to seamlessly integrate Firebase AdMob into your Flutter app.
Step 3: Implement AdMob in Flutter Code
Now, let's delve into the intricacies of integrating AdMob into your Flutter app:
Import the AdMob Package: In your Dart file, the language Flutter apps are written in, import the AdMob package:
import 'package:firebase_admob/firebase_admob.dart';Initialize AdMob: Initialize AdMob in your app by incorporating the following code snippet into your
main.dartfile:void main() { WidgetsFlutterBinding.ensureInitialized(); FirebaseAdMob.instance.initialize(appId: FirebaseAdMob.testAppId); runApp(MyApp()); }Ensure you replace
FirebaseAdMob.testAppIdwith your actual AdMob app ID.Display Ads: To display ads in your app, create an ad widget using the
BannerAdwidget:BannerAd myBanner = BannerAd( adUnitId: '<Your-Ad-Unit-ID>', size: AdSize.banner, targetingInfo: targetingInfo, listener: (MobileAdEvent event) { print("BannerAd event is $event"); }, ); @override void initState() { super.initState(); myBanner ..load() ..show( anchorType: AnchorType.bottom, anchorOffset: 10.0, ); }Make sure to replace
'<Your-Ad-Unit-ID>'with the ad unit ID obtained from your AdMob account.
Conclusion:
Congratulations! You've successfully navigated the intricate process of integrating Google Ads into your Flutter app. Monetizing your app through ads now opens up new avenues for revenue generation. Remember to adhere to AdMob policies to ensure a positive user experience and compliance with their guidelines. Now go ahead, code with confidence, and embark on a successful journey in the world of app monetization! Happy coding!